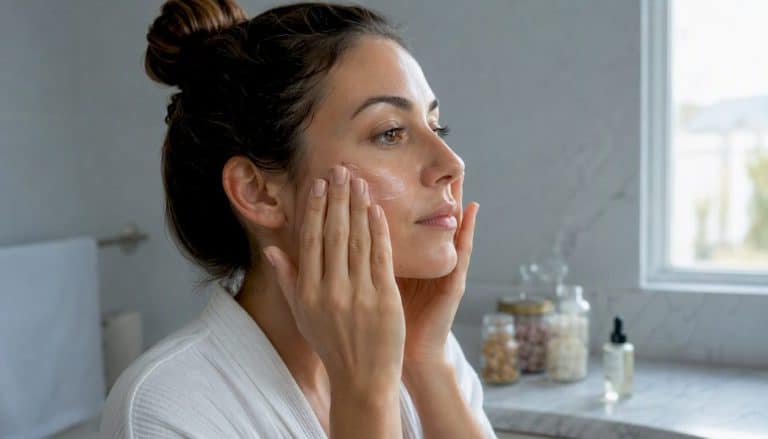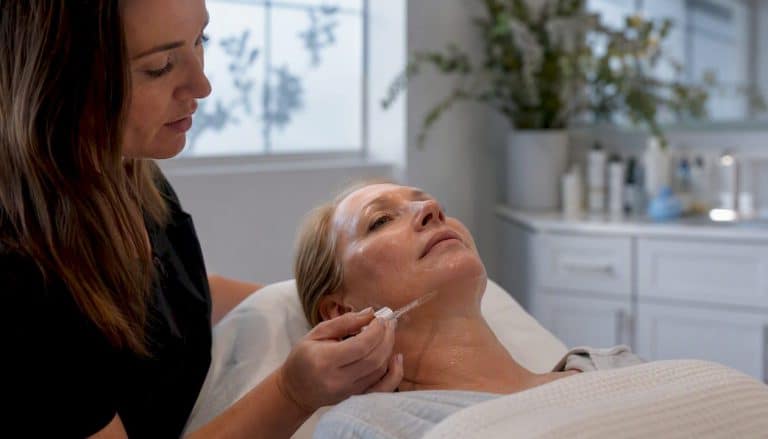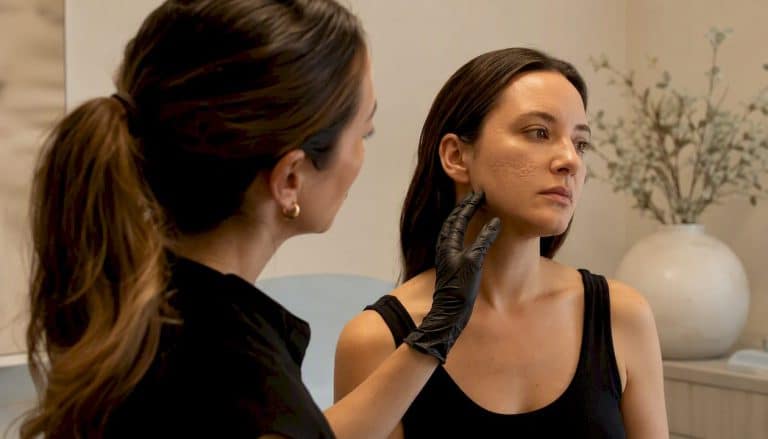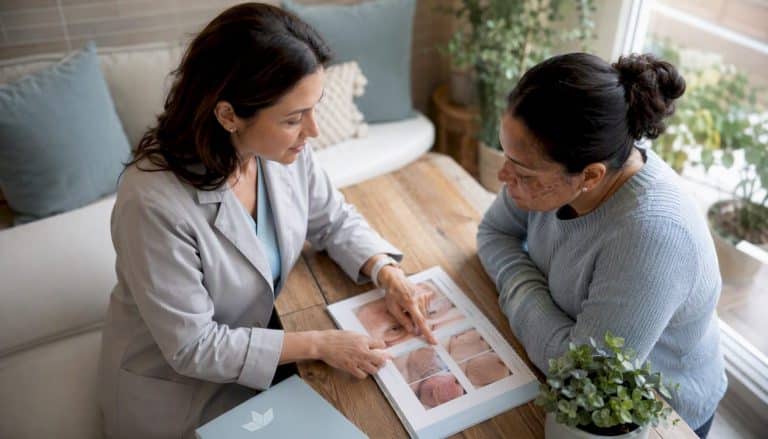
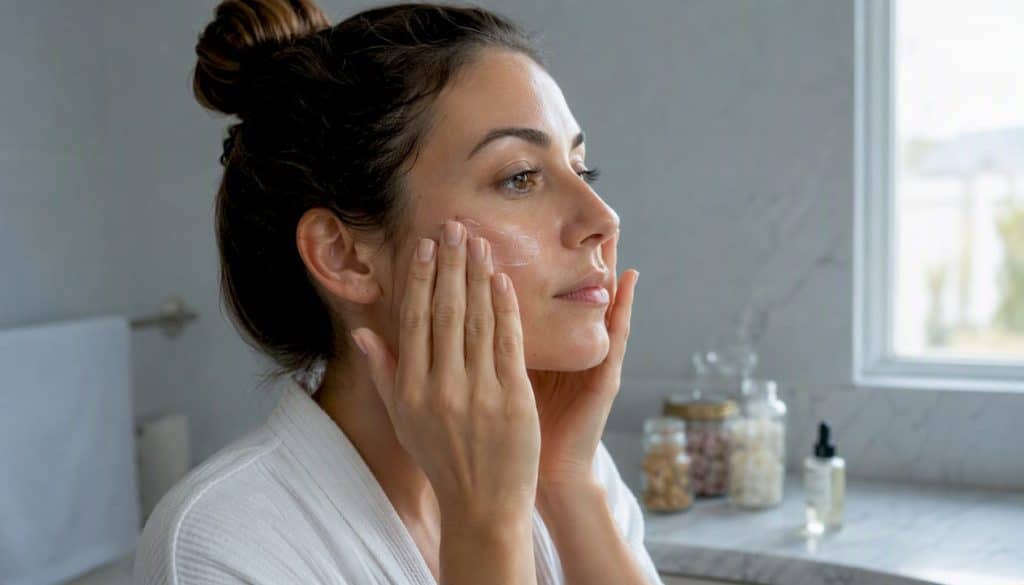
Start your bridal skincare routine 6–12 months before your wedding date, anchored by three non-negotiables: daily broad-spectrum SPF, a consistent AM/PM routine, and staged professional treatments timed with enough buffer for results to settle and skin to recover. Clinic-oriented guidance consistently recommends this window as the minimum for meaningful improvements in tone, texture, and pigmentation. The three fastest high-impact levers are your daily skincare foundation, the slow and careful introduction of actives like retinoids and vitamin C, and professionally timed treatments scheduled with realistic downtime in mind.
Start tonight with these steps:
- Book a consultation with a licensed medical aesthetician or board-certified dermatologist, even if your wedding is still a year away.
- Introduce a broad-spectrum SPF 30 or higher into your morning routine and commit to it daily.
- Audit your current products: remove anything harsh, fragrant, or untested on your skin.
- Write down your skin concerns in order of priority (pigmentation, scarring, texture, laxity) so your first consultation is focused.
- Photograph your skin now under natural light. You will want a baseline for comparison.
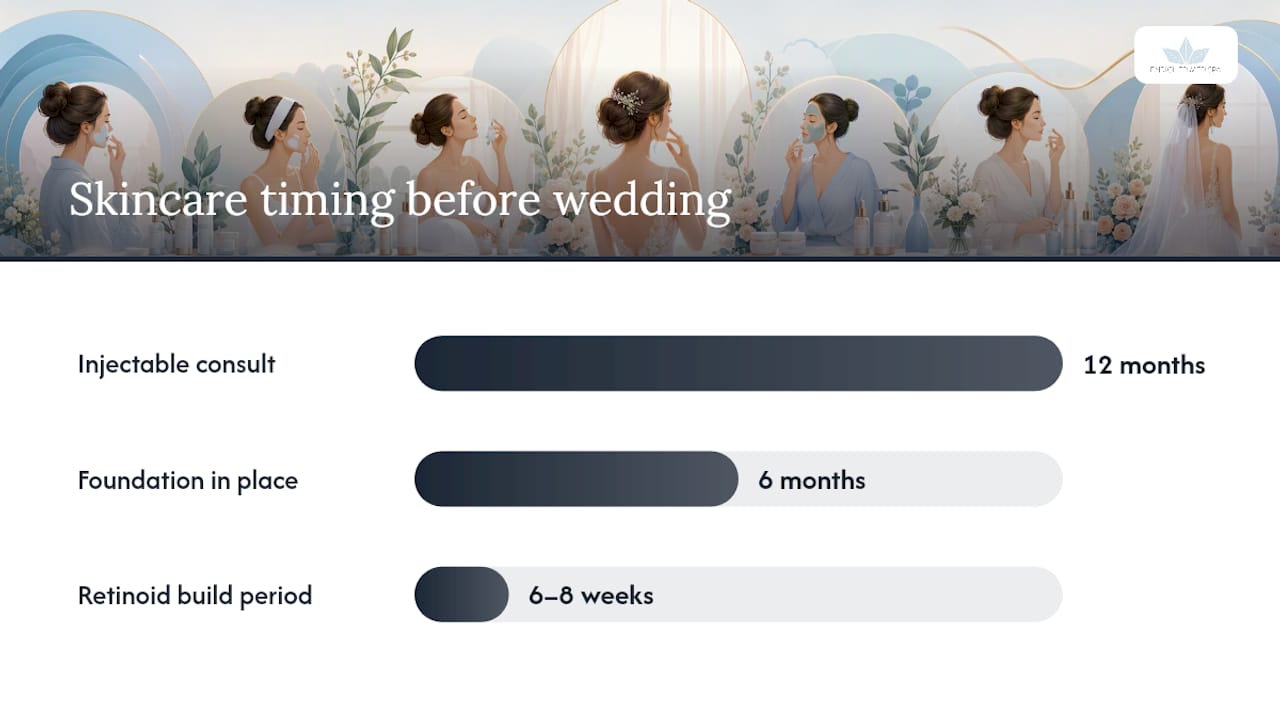
Your major milestones: 12 months out, start consultations and build your foundation routine; 6 months, introduce actives and schedule resurfacing; 3–4 months, complete in-clinic treatments with downtime buffers; 1 month, stop high-risk actives; 1 week, final hydration facial only; day-of, stick to your known routine.
Pro Tip: Stop retinoids 7–14 days before your wedding. Their effects persist after you stop using them, so you get the benefit without the risk of flaking or irritation on the day.
Key takeaways
Starting your bridal skincare routine 6–12 months before your wedding, with daily SPF, a staged active introduction, and professionally timed treatments, gives your skin the time it needs to genuinely change.
| Point | Details |
|---|---|
| Start 6–12 months out | Meaningful improvements in tone, texture, and pigmentation require cumulative change, not last-minute fixes. |
| Daily SPF is non-negotiable | Broad-spectrum SPF 30 or higher every morning protects treatment results and prevents new pigmentation. |
| Introduce actives slowly | Begin retinoids at low frequency and build over weeks to avoid irritation close to the wedding date. |
| Schedule midterm treatments with buffers | Chemical peels, microneedling, and laser resurfacing should be completed 2–3 months before the wedding. |
| Enriched Med Spa offers personalised plans | The clinic builds staged wedding prep calendars covering injectables, peels, microneedling, and laser for Woodbridge and East Gwillimbury brides. |
Table of Contents
- Why your skin needs months, not days, to change
- At-a-glance wedding skincare timeline
- Building your clinical foundation 12–6 months out
- Which in-clinic treatments to schedule 3–4 months out
- What to do (and stop) in the final month and week
- Your step-by-step routine for the morning of the wedding
- Your AM and PM skincare routine, step by step
- How to choose the right clinician for your wedding prep
- Typical treatment costs in Canada and what to expect
- What the evidence says about combining microneedling and peels
- A note from us at Enriched Med Spa
- Enriched Med Spa’s wedding prep services
- Sources
Why your skin needs months, not days, to change
The most common pattern we see at the clinic is a bride arriving three to four weeks before her wedding hoping to address concerns that have been building for years. Pigmentation, acne scarring, and uneven texture are not surface-level problems. They reflect changes in the deeper layers of the skin, and those layers respond slowly.
Skin cell turnover takes roughly 28 days in younger adults and longer as we age. Collagen remodelling after a resurfacing treatment can continue for three to six months. Pigment clearance after a peel or laser session often requires multiple treatments spaced weeks apart before a visible shift occurs. Board-certified dermatologists emphasise that the biggest mistake brides make is treating skincare as a series of quick fixes rather than a cumulative, biological process.
Many clients also underestimate the time needed to build tolerance to active ingredients. Introducing a retinoid too quickly, or adding a new acid close to the wedding, can trigger irritation, peeling, or a breakout at exactly the wrong moment. A staged plan removes that risk entirely.
Pro Tip: If you have significant sun damage, active acne, or deep scarring, start 12 months out rather than six. The extra time gives you more treatment options and a safer troubleshooting window if anything needs adjusting.
At-a-glance wedding skincare timeline
The table below maps each phase to its primary objective, what to start, what to stop, and when to book professional treatments.
| Phase | Primary objective | Start | Stop / avoid | Book now |
|---|---|---|---|---|
| 12+ months | Build foundation and consult | Daily SPF, gentle cleanser, vitamin C | Harsh scrubs, untested products | Dermatologist or aesthetician consult |
| 6 months | Introduce actives, begin treatments | Retinoids (low frequency), AHAs | Skipping SPF | Peels, microneedling series |
| 3–4 months | Resurfacing and correction | Scheduled in-clinic treatments | Combining high-risk procedures | Fractional laser, injectables |
| 1 month | Protect and stabilise | Hydration focus, barrier support | New actives, new products | Final injectable appointment |
| 1 week | Hydrate and calm | Gentle routine only | Extractions, aggressive peels, waxing | Hydration facial (no extractions) |
| Day-of | Maintain and protect | Known routine, SPF, primer | New makeup, alcohol-based products | Nothing new |
For injectables like Botox or dermal fillers, clinician guidance recommends scheduling at least one month before the wedding to allow bruising and swelling to fully resolve, with six months or more being ideal for first-time clients who may need a follow-up appointment to refine results.
Building your clinical foundation 12–6 months out
By the six-month mark, you should have three things firmly in place: a consistent daily routine your skin tolerates well, daily SPF without exception, and at least one professional consultation on record. Everything else builds from that base.
What to bring to your first consultation:
- A list of every product you currently use, including supplements and prescription medications.
- Your skin concerns ranked by priority.
- Photos of your skin in natural light (no filter, no makeup).
- Your wedding date and any travel planned around it.
Questions to ask your clinician:
- Which of my concerns can realistically be addressed in this timeline?
- What is the recommended sequence of treatments, and how much downtime should I plan for each?
- When should I stop retinoids and other actives before the wedding?
- Are there any procedures you would not recommend given my skin type or history?
This is also the window to begin introducing actives gradually. Start vitamin C in the morning, applied after cleansing and before moisturiser. For retinoids, begin with a low-concentration formula two nights per week and build slowly over six to eight weeks. Building tolerance slowly reduces the risk of late-stage irritation that can derail your plans entirely.
For skin health optimisation that goes beyond a basic routine, this phase is also when to consider a series of in-clinic facials or a light chemical peel to assess how your skin responds to professional treatment before committing to more intensive procedures.
Pro Tip: Book your injectable consultation at 12 months if you are considering Botox or fillers for the first time. First-time clients often need a follow-up session to refine placement, and that requires time.
Pro Tip: Ask your clinician to photograph your skin at every appointment. Objective before-and-after documentation keeps expectations grounded and helps you track real progress.
Which in-clinic treatments to schedule 3–4 months out
This is the most active treatment phase. Your skin has had months to adjust to your daily routine, your tolerance to actives is established, and there is still enough time for results to fully develop and any downtime to resolve before the wedding.
The focus in this window is resurfacing, pigment correction, and scar treatment. Common options include:
- Chemical peels: Medium-depth peels (such as TCA or Jessner) address pigmentation, texture, and mild scarring. Expect 5–7 days of peeling and redness. A series of two to three sessions spaced four weeks apart is typical for meaningful improvement.
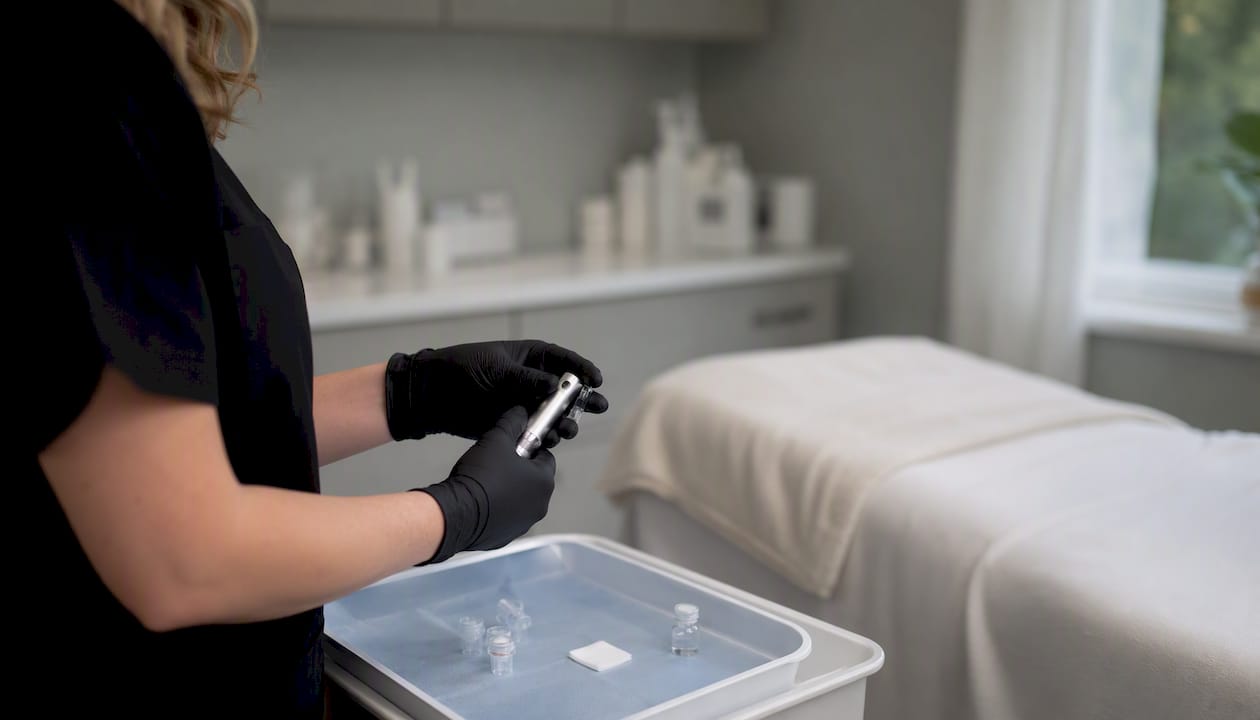
- Microneedling: Stimulates collagen production and improves texture and mild scarring. Downtime is 24–72 hours of redness. Three to four sessions spaced four weeks apart is a standard protocol.
- Fractional laser resurfacing: More aggressive than peels or microneedling for deeper scarring and significant texture concerns. Downtime ranges from 5–10 days depending on depth. Schedule no later than three months before the wedding. Learn more about laser resurfacing recovery timelines.
- Light-based pigment treatments (IPL): Targets sunspots and redness with minimal downtime (1–3 days of darkening before pigment flakes off). Two to four sessions spaced three to four weeks apart is typical.
| Treatment | Typical sessions | Downtime | Latest safe booking |
|---|---|---|---|
| Chemical peel (medium) | 2–3 | 5–7 days | 3 months before |
| Microneedling | 3–4 | 24–72 hours | 3 months before |
| Fractional laser | 1–2 | 5–10 days | 3 months before |
| IPL (pigment) | 2–4 | 1–3 days | 2 months before |
| Botox / Nuceiva | 1–2 | Minimal (bruising possible) | 1 month before |
| Dermal fillers | 1 | 3–7 days swelling | 1 month before |
Avoid combining high-risk procedures in the same session or within two weeks of each other. Stacking a medium-depth peel and a laser treatment too close together significantly increases the risk of prolonged redness, hyperpigmentation, or barrier disruption. Your clinician should sequence these with clear spacing.
For brides dealing with acne scarring specifically, acne scar treatment options are worth reviewing before your consultation so you arrive with informed questions about which modality suits your scar type.
What to do (and stop) in the final month and week
One month before your wedding, the goal shifts from improvement to protection. You have done the work. Now the job is to hold what you have built and avoid anything that could cause a reaction.
Final month do-and-don’t checklist:
- Stop retinoids 7–14 days before the wedding. NEOVA’s clinical guidance recommends this window specifically to prevent flaking or sensitivity on the day.
- Stop AHAs and BHAs at the two-week mark.
- Do not try any new skincare products, masks, or serums you have not used before.
- Complete your final injectable appointment at least four weeks out.
- Continue vitamin C every morning and SPF every single day.
- Avoid aggressive extractions, waxing near the face, or threading if your skin tends to react.
In the final week, your only in-clinic appointment should be a hydration-focused facial with no extractions and no active exfoliation. Aesthetician guidance from Vogue recommends scheduling this about one week before the wedding to allow any minor redness to fully settle before the ceremony.
Pro Tip: If something does go wrong in the final week, a gentle hydrocortisone cream applied sparingly can calm a small flare without disrupting your skin barrier. Keep one in your emergency kit.
Your step-by-step routine for the morning of the wedding
Stick to what your skin already knows. The morning of your wedding is not the time for anything new, anything brightening, or anything that promises a dramatic effect. Your skin has been prepared over months. Let it do its job.
Wedding morning routine, in order:
- Gentle, non-foaming cleanser with lukewarm water.
- Vitamin C serum (if it is already part of your routine).
- Hydrating serum or essence (hyaluronic acid-based).
- Moisturiser (your usual formula, nothing new).
- Broad-spectrum SPF 30 or higher (non-greasy, primer-compatible).
- Allow SPF to fully absorb before makeup application (at least 5 minutes).
Emergency kit to have on hand:
- Hydrocortisone 1% cream for small flares or reactions.
- Soothing sheet mask (used the night before, not the morning of).
- Hydrocolloid spot patches for any last-minute blemishes.
- Blotting papers for midday shine control.
- Travel-size facial mist for touch-ups.
Avoid alcohol-based toners, aggressive exfoliants, or any product with a strong fragrance on the day. For bridal lip makeup that layers well over a hydrated, prepped base, a well-moisturised lip the night before makes a significant difference in how lip colour applies and lasts.
Pro Tip: Apply your SPF to your neck and décolletage as well. Photographers capture those areas constantly, and uneven tone between your face and neck is one of the most common things brides notice in their photos afterward.
Your AM and PM skincare routine, step by step
The core daily routine recommended across clinical resources follows the same logic: cleanse, treat, moisturise, and protect in the morning; cleanse, repair, and restore at night. The order matters because each layer prepares the skin for the next.
Morning routine
- Gentle cleanser — removes overnight product residue without stripping the skin barrier.
- Vitamin C serum — applied to slightly damp skin for better absorption; protects against UV-induced oxidative damage and supports collagen synthesis.
- Hydrating serum (optional but recommended) — hyaluronic acid or niacinamide; adds moisture and calms redness.
- Moisturiser — seals in hydration and supports the barrier; choose non-comedogenic formulas.
- Broad-spectrum SPF 30+ — the single most important step for preventing new pigmentation and protecting treatment results. Never skip it.
Evening routine
- Double cleanse (if you wore makeup or SPF) — oil cleanser first, then a gentle water-based cleanser.
- Exfoliant (2–3 nights per week, not every night) — AHA such as glycolic or lactic acid for texture and tone; BHA such as salicylic acid for congestion and acne-prone skin.
- Treatment serum — niacinamide for redness and pore appearance; peptides for barrier support; or a targeted brightening serum.
- Retinoid (on designated nights only, not the same nights as strong acids) — start at 0.025–0.05% retinol, two nights per week, and increase frequency only after four to six weeks of consistent tolerance.
- Moisturiser — a slightly richer formula than your morning product to support overnight repair.
Introducing retinoids safely:
- Weeks 1–2: apply once per week, after moisturiser (buffering reduces irritation).
- Weeks 3–4: move to twice per week, directly after cleansing if tolerated.
- Months 2–3: three nights per week if skin is comfortable.
- Month 4 onward: use as directed by your clinician, up to nightly if well-tolerated.
Never apply a retinoid and a strong AHA on the same night. The combination increases the risk of barrier disruption, particularly for sensitive skin types.
How to choose the right clinician for your wedding prep
For stronger procedures — fractional laser, medium-depth peels, injectables — seek a board-certified dermatologist or a licensed medical aesthetic clinician working under physician oversight. For maintenance facials, hydration treatments, and gentle peels, an experienced licensed aesthetician is appropriate. The distinction matters because stronger treatments carry real risks, and the person performing them should have the training to manage complications.
Questions to ask at your consultation:
- What is your training and certification for this specific procedure?
- How many times have you performed this treatment on skin similar to mine?
- Can I see before-and-after photos of clients with my concern?
- What is the realistic downtime, and what does recovery look like?
- What is your protocol if I have an adverse reaction?
- What is the full cost, including any follow-up sessions?
Red flags to watch for:
- No intake form or skin history assessment before recommending a treatment.
- Pressure to book multiple sessions in the first appointment without a clear rationale.
- Vague answers about downtime or recovery.
- No discussion of contraindications (pregnancy, medications, active skin conditions).
- Promises of dramatic results with no caveats.
A good clinician will tell you what they cannot do as clearly as what they can. That honesty is the clearest sign you are in the right place.
Typical treatment costs in Canada and what to expect
Prices vary across Canada depending on the clinic, the clinician’s credentials, and the city. The ranges below reflect general market pricing for medical aesthetic clinics in Ontario; costs in major urban centres like Toronto tend to sit at the higher end.
Realistic expectations matter as much as the price. A single microneedling session will not resolve deep acne scarring. A light peel will not erase years of sun damage. Most meaningful improvements require a series of treatments, and the results continue to develop for weeks after the final session. Budget for the full series, not just one appointment, and factor downtime into your calendar before you book.
What the evidence says about combining microneedling and peels
For brides dealing with atrophic acne scarring, the strongest available evidence supports combining microneedling with chemical peels rather than using either treatment alone. A systematic review and meta-analysis found that combination therapy significantly outperformed either monotherapy for atrophic acne scars, with higher responder rates and mostly mild, transient adverse events across nine studies involving 566 participants.
A supporting pilot study comparing chemical peeling alone, combined peeling with microneedling, and standard care found the combined protocol produced the most pronounced reduction in sebum and lesion counts, though hydration levels varied transiently, reinforcing the need for hydration-focused aftercare.
Clinical implications for wedding prep:
- Schedule the combined protocol no later than three to four months before the wedding to allow full collagen remodelling.
- Plan for three to four sessions spaced four weeks apart for a meaningful improvement in scar appearance.
- Allow 24–72 hours of downtime per session, with redness potentially lasting up to a week after the first treatment.
- Follow each session with barrier-supportive aftercare: gentle cleanser, fragrance-free moisturiser, and SPF daily.
- Avoid combining the protocol with other resurfacing treatments in the same window.
The evidence is promising, but the protocols studied vary considerably. What works for one skin type and scar pattern may not be appropriate for another. A tailored plan from a qualified clinician, not a generic protocol, is what produces consistent results. For microneedling preparation and aftercare, understanding what to expect before and after each session helps you plan your calendar realistically.
A note from us at Enriched Med Spa
We work with many clients who come in with a wedding date circled on the calendar and a list of concerns they have been thinking about for months. The most common patterns we see: early signs of ageing around the eyes and forehead, uneven pigmentation from sun exposure, acne scarring from teenage or adult breakouts, and skin that feels dull or congested despite a consistent home routine.
Our approach is always to stage treatments in a logical sequence. We typically address the skin barrier and hydration first, then introduce resurfacing, then refine with injectables if appropriate. We do not stack aggressive treatments close together, and we build in buffer time before the wedding so that if anything needs adjusting, there is room to do it calmly.
For injectables like Botox, Nuceiva, or Xeomin, we recommend a first appointment at least six months out for new clients. Fillers for volume or contouring are best planned at the same time, since the two often work together. For laser resurfacing or a series of peels, we build the calendar backward from the wedding date to make sure the last session lands at least eight to ten weeks before the ceremony.
Natural-looking results come from planning, not from doing more. The brides who are happiest with their skin on their wedding day are almost always the ones who started early, stayed consistent, and resisted the urge to add one more treatment in the final weeks.
Enriched Med Spa’s wedding prep services
Enriched Med Spa, serving Woodbridge and East Gwillimbury, Ontario, offers a full range of medical aesthetic treatments suited to bridal skin preparation: cosmetic injectables including Botox, Nuceiva, and Xeomin; dermal fillers; microneedling; chemical peels; CO2 laser resurfacing; and radiofrequency skin tightening. A bridal consultation includes a skin assessment, a personalised treatment calendar, and realistic guidance on what each procedure can and cannot achieve in your timeline.
If you are considering injectables for the first time, the dermal fillers service page outlines what to expect from a first appointment, including typical session length and recovery. For brides who want a clear comparison of options, the Botox vs. fillers guide is a practical starting point.
Book a consultation at Enriched Med Spa to receive a personalised wedding prep plan with a treatment calendar built around your date.
Sources
- Chemical peeling in combination with microneedling versus chemical peeling or microneedling monotherapy in the treatment of acne scars: a systematic review and meta-analysis – PMC
- Wedding Skincare Timeline for Radiant Bridal Skin | NEOVA
- Evaluation of Combined Chemical Peeling and Microneedling Protocols in the Treatment of Acne-Prone Skin: A Pilot Study
- Pre-Wedding Skincare Prep — Your Essential Guide
This article is general information, not a substitute for advice from a qualified doctor. Consult a qualified healthcare professional about your own circumstances before acting on anything here.
Recommended
- Top wedding prep skin treatments for glowing bridal skin
- What is event-ready skin care? Your pre-event guide
- How to Prepare for Your Facial Appointment: Simple Steps for Great Results – Botox Laser Hair Removal OxyGeneo Medi Facial Microneedling – Enriched Med Spa – Vaughan Woodbridge Maple Vellore Village